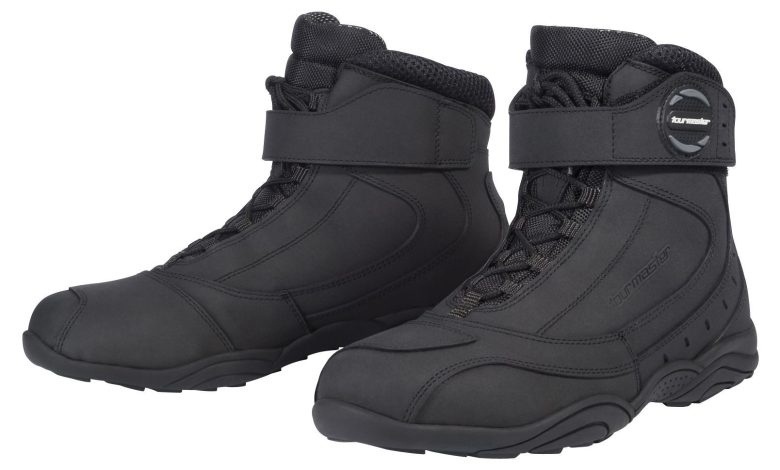
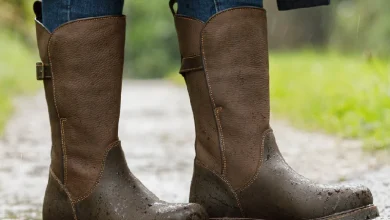
Waterproof hiking boots, breathable seams, and ingress protection that pass lab tests

Rain, puddles, creek hops, wet grass—hiking boots see all of it.
Good boots keep water out and sweat moving out too.
That sounds tricky, but it’s doable when you build smart seams, use the right threads, and test like a lab.
Let’s walk through the playbook.
The big idea (plain and short)
Water goes in through the top, through seams, and through hardware holes.
We stop that with:
- a waterproof-breathable package (membrane + lining or bootie),
- seam designs that don’t wick, and
- features that steer water away.
Then we proof it in tests.
Membrane package: the dry core
- Use a waterproof-breathable membrane bootie or laminated lining inside the upper. It blocks liquid but lets vapor pass.
- Seal every bootie seam with tape from the same polymer family so the bond is strong and flexible.
- Keep the membrane free from needle holes whenever you can. If you must sew through, tape those lines afterward from the inside.
Seam strategy: breath where you can, block where you must
- Keep seams off splash zones. Move major joins away from the ball-of-foot crease and the toe cap edge where water pools.
- Round corners (≥ 6–8 mm radius). Tight corners bunch stitches and become tiny funnels.
- Use one clean stitch line over a narrow bond film when possible. Bond shares the load, fewer holes, smoother flex.
- Vent where safe. Small, backed eyelets or mesh windows placed above the flood line let sweat escape without inviting rain.
Thread and needle: small holes win
- Thread: choose anti-wick polyester (polyester embroidery thread) for most runs (it resists pulling water along the stitch). For harsh abrasion rails, add bonded nylon thread or para-aramid only where needed.
- Ticket size: use the finest passing ticket so the needle can be smaller and holes are tiny.
- Needle: micro/round point for textiles and coated fabrics; leather/tri only on leather parts. Start one size smaller; go up only if you get skips.
- SPI (stitches per inch): aim mid-range. About 8 to 10 SPI on heavy fabrics of leather and/or synthetics, 10–11 SPI on textiles. Too many holes = perforation line; too few = weak seam.
Films, tapes and glues: Match the chemical composition
- Utilise heat-activated films and seam tapes that are identical to the upper or bootie polymer (for instance, PET-on-PET, PU-on-PU). Matching chemistry bonds better and stays flexible when cold.
- Keep bond lanes narrow (≈ 3–4 mm). Wide glue areas block breathability and add weight.
- After pressing, cool-clamp 2–3 seconds so the bond “sets memory.”
Features that steer water away
- Gusseted tongue: run the gusset high and tight so water can’t pour in at the laces.
- Drip rails & storm flaps: a tiny stitch ridge or flap near the zipper or lace throat directs water sideways, not inside.
- Protective rand: wrap a rand that covers stitch lines near the mud line. Add a shallow stitch channel so thread sits below the scuff plane.
- Collar shape: angle the collar so water flows out and back, not into the boot.
Lab-style tests you can run (and should pass)
1) Static column / hydro head (upper panel)
Clamp a panel or stitched coupon and add water head. No seep through the seam for the target time. If you see pin leaks, drop needle size or switch to anti-wick thread.
2) Dynamic flex in wet
Flex the forefoot for 50k–100k cycles while the outside stays wet. Watch for seam whitening, tape lift, or first leak. If it leaks early, reduce SPI by 1, add narrow film under the seam, or move the seam off the main crease.
3) Whole-boot immersion / step test
Stand the boot in water just below the gusset edge and cycle a walking motion. No bubbles, no interior damp. If you see bubbles from a stitch line, reseal inside with matching tape.
4) Spray/rain shower test
Spray at set angles for set minutes. Check for dark halos along seams. Halos mean wicking—use anti-wick thread, smaller needle, lower tension.
5) Condensation breathability check
Warm, moist air inside + cool outside wall. You want no liquid ingress and reasonably fast dry-back afterward.
Construction checklist (pin by the machine)
- Seam allowance constant; corners rounded.
- Stitch 301, SPI per material (8–10 heavy / 10–11 textile).
- Thread anti-wick polyester, finest passing ticket; abrasion rails upgraded only where needed.
- Needle micro/round or leather/tri by part; start small.
- Bond lanes ≤ 4 mm, chemistry-matched; cool-clamp.
- Bootie seams fully taped; any sew-through lines re-taped.
- Gusset to top eyelet; drip rail at throat; rand channel over mud-line stitches.
Troubleshooting quick table
| Symptom | Likely cause | Fast fix |
| Dark wet halo along seam | Wicking thread / big holes | Anti-wick thread; smaller needle; reduce tension; keep SPI mid |
| Leak at toe bend after 10k flex | Seam on crease / perforation | Offset seam 3–5 mm; drop SPI by 1; add narrow film under seam |
| Tape edge lifts in cold | Under-press or wrong tape | Match polymer; raise dwell slightly; cool-clamp; check pad hardness |
| Damp at laces | Low gusset / no drip rail | Raise gusset height; add tiny redirect stitch line |
| Inside clammy but no leak | Wide glue blocking breath | Narrow bond lanes; add vent zones above flood line |
A one-week pilot plan (realistic)
- Pick one boot style.
- Build A/B vamps: A = current seam, B = seam offset + anti-wick thread + narrow film.
- Tape bootie seams carefully; re-tape any sew-throughs.
- Run spray, immersion, and wet flex to 50k.
- Record time-to-first-leak and dry-back time.
- If B wins, lock the spec and roll to quarters and collars next.
Care label words (short & useful)
“Rinse mud. Air-dry away from heat. Re-activate water repellency with low heat when dry. Do not pierce the upper. Replace laces and insoles when worn.”
Wrap
Breathable waterproof boots are an amalgamation of smart seams, small needle holes, anti-wick threads, correctly matched tapes, and features that push water away.
Test like a lab, fix what leaks, and lock the build.
Do this, and your hikers stay dry on the trail and pass the forms back at the lab—season after season.


